Configure OpenVPN with Network Manager - Gnome Edition (Works for Unity too)
In this guide we will learn how to configure Network Manager’s OpenVPN plugin with one of our UDP or TCP OpenVPN server location.
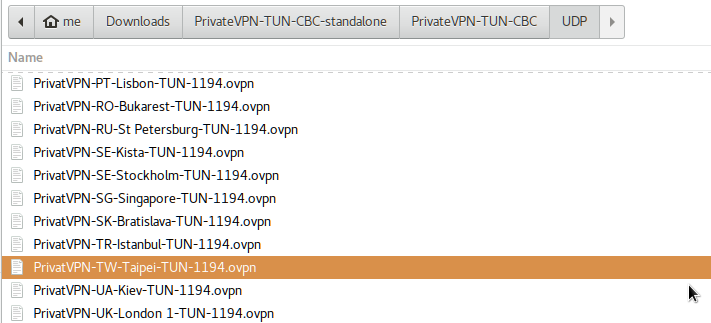
For the purpose of this guide, I am going to use PrivateVPN’s OpenVPN-TUN-UDP configuration for Taiwan.
Step 1 - Installing OpenVPN plugin for Network Manager
Install OpenVPN with Network Manager plugin from a terminal window:
sudo apt-get install network-manager-openvpn network-manager-openvpn-gnome resolvconf
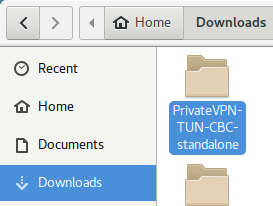
Step 2 - Download and extract the raw OpenVPN standalone configuration files
Raw OpenVPN standalone files in .zip format is available here for you to download.
Step 3 - Import an OpenVPN configuration file of your choice in Network Manager’s OpenVPN plugin
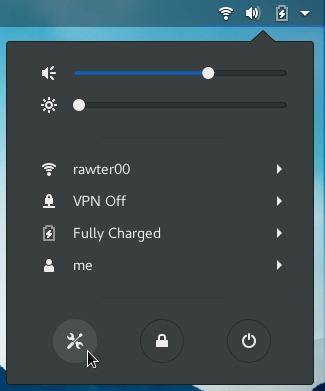
From the Gnome Menu - open All settings and click Network, as shown in the picture below.
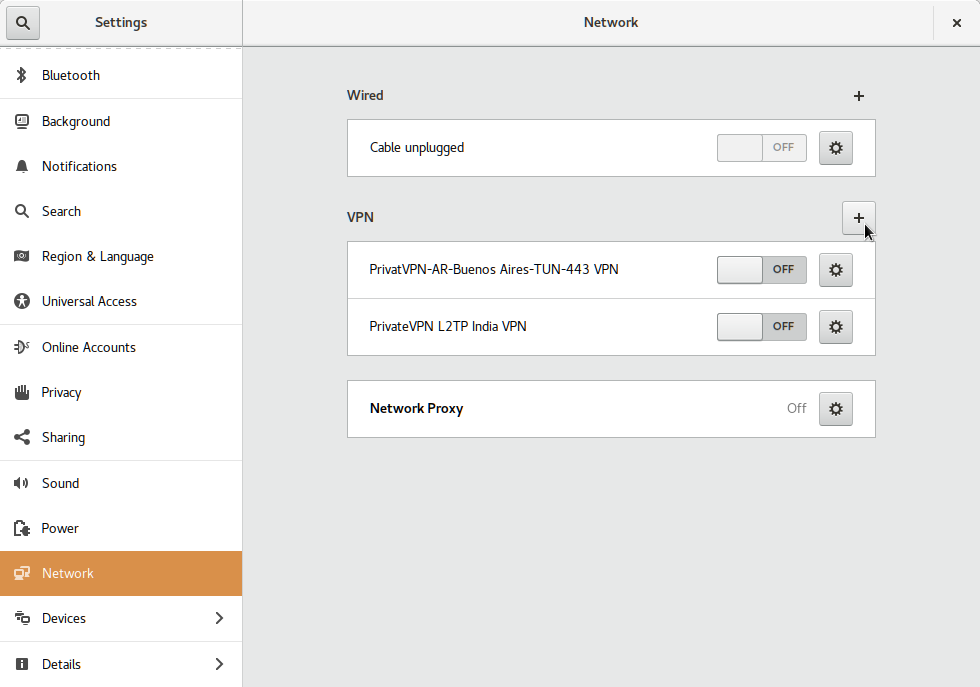
From the Network setting page, click + to add a VPN profile by importing .ovpn file for particular location you like as shown in the picture below.

In the next dialog window is the last and most tricky part, input your PrivateVPN.com credentials and click add as follows.

Sometimes OpenVPN won’t connect if you do not save the password for all users, see the image below on how to do so.

Step 4 - Connect
Now lets get you connected to PrivateVPN’s OpenVPN server. From the Gnome Menu Bar just turn ON the VPN server location you want to connect to and that is all.

Note: You would only see Connect option under VPN if you have only one server location added.
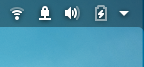
Once connected you will see a lock sign as seen in the image below.
Enjoy your encrypted Internet!