How to proxify a web browser with PrivateVPN?
A lot of people want a private browser with a secure setup for their private browsing habits or to access their favorite content provider like Netflix, BBC etc.
Although PrivateVPN recommends you to use more secure VPN protocols like OpenVPN or IKEv2 but if routing whole of your Internet traffic via VPN gateway is not what you desire this guide might attract you.
In order to proxify a web browser, we recommend SOCKS5 protocol with authentication owing to added benefit including but not limited to support for UDP, DNSlookups etc.
Step 1 - Download and install latest Mozilla Firefox on your OS
When it comes to privacy, Firefox is only browser that comes to my mind.
Kindly download, install latest version of Firefox and keep it ready.
Step 2 - Install & configure ‘Proxy SwitchyOmega’ Firefox Add-on
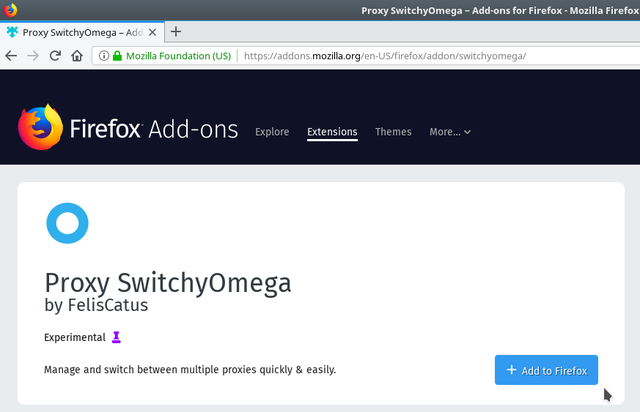
Latest version of Proxy SwitchyOmega can be found here.
Click Add to Firefox
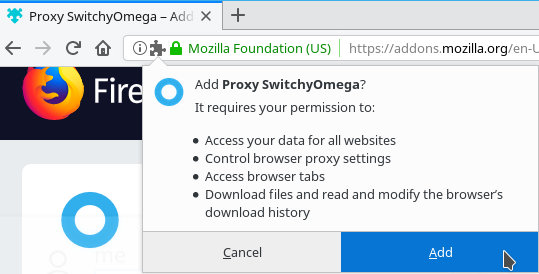
Click Add again to grant permission for installation
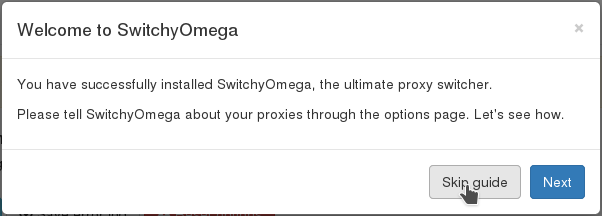
Voila! SwitchyOmega is installed. Click Skip guide to continue.
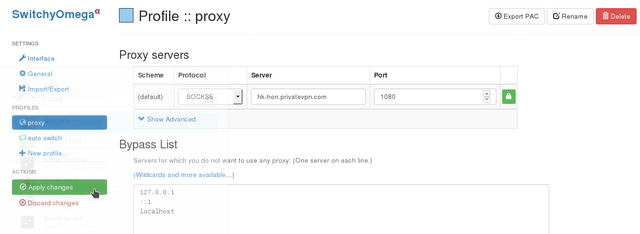
SwitchyOmega interface appears. Click on proxy under Profiles section on the left and select SOCKS5 protocol from drop down menu as show in the image below.
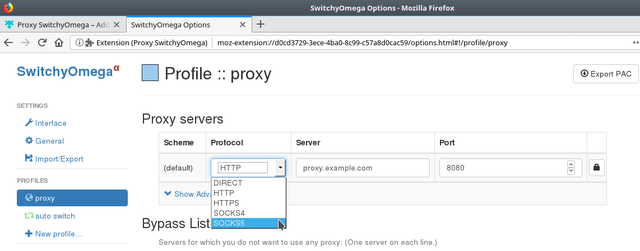
Visit PrivateVPN’s Server list page and pick a server hostname of your choice. Hong Kong’s hostname is being used for the purpose of this guide. You can always pick UK or USA if you wish to use it for Netflix, BBC or whatever.
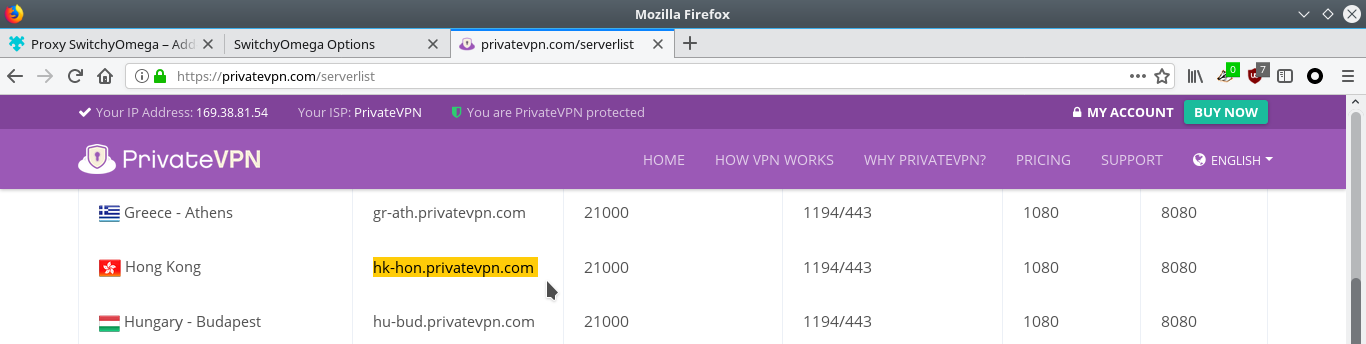
Input the server hostname in the Server input field and Port as 1080 in the respective fields as shown in the image below. Click on the lock icon to the right to continue.

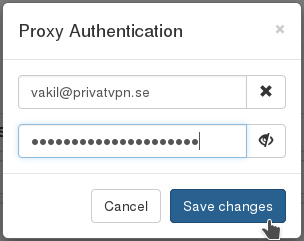
A dialog box appears, input your PrivateVPN credentials here. Click Save changes to continue. You can notice lock icon now goes green.
Click on Apply changes under Actions Menu to continue.
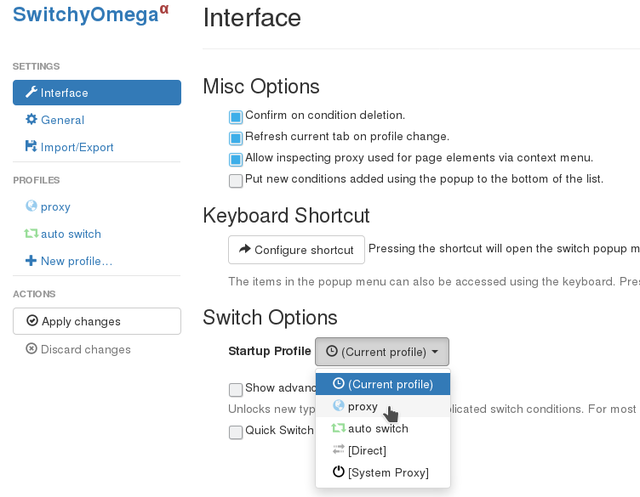
Click on Interface tab under Settings to change the Startup Profile to proxy. Click Apply changes again to save it.
Step 3 - Restart Firefox to enjoy your proxified browser
Once you restart Firefox, navigate to whatismyipaddress.com to check if it is working you!
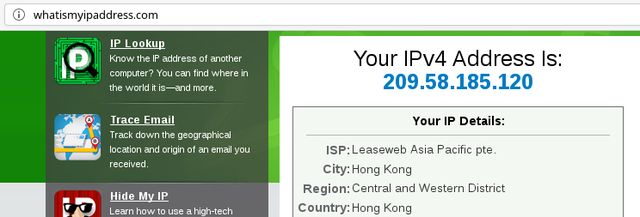
You have sucessfully configured PrivateVPN SOCKS5 proxy on Firefox Web Browser. Now all the traffic in the browser including DNS queries would be routed via PrivateVPN.
Important tips for privacy:
Install HTTPS everywhere and Privacy Badger Firefox Add-ons developed by EFF.
Configure Firefox to clear history etc on exit. A guide by Mozilla is made available here. Check it out!