OpenVPN on Windows with Official OpenVPN GUI client
Step 1 - Download OpenVPN GUI client and our OpenVPN client configuration files
For Windows XP 32-bit - Download latest OpenVPN GUI client from here.
For Windows XP 64-bit - Download latest OpenVPN GUI client from here.
For Windows Vista or newer - Download latest OpenVPN GUI client from here.
Download PrivateVPN OpenVPN client configuration files for Windows XP from here.
Download PrivateVPN OpenVPN client configuration files for Windows 7 or newer from here.
Step 2 - Install OpenVPN GUI client
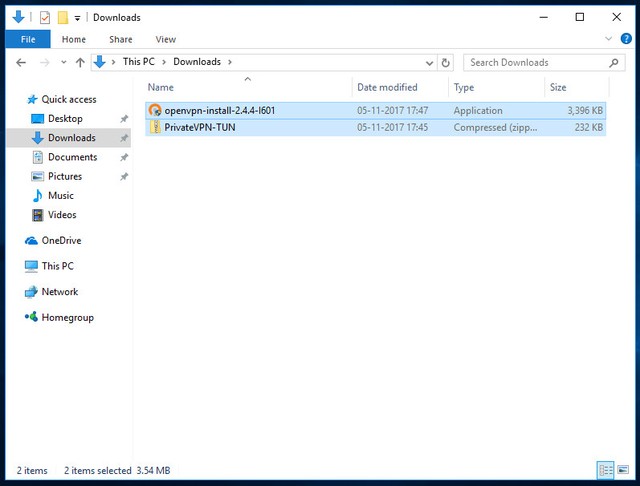
Navigate to Downloads folder and double click the openvpn-install-*.exe file.
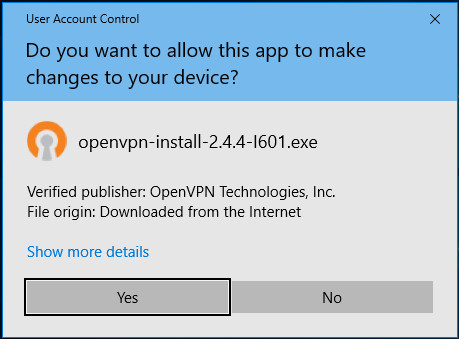
User account control dialog box prompts for permission, click Yes to continue.
OpenVPN installer is an easy to follow Wizard, click Next to begin installation

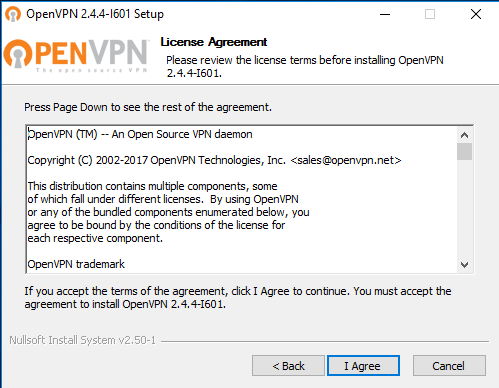
Click I Agree to continue.
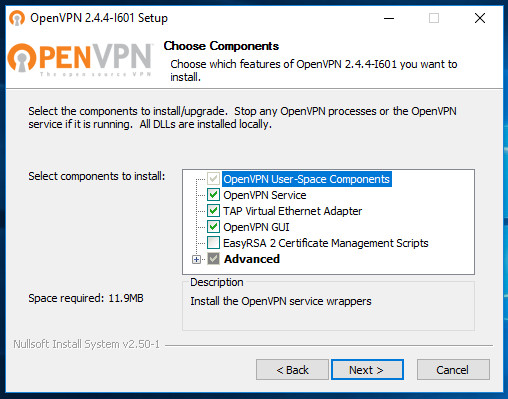
Click Next to continue
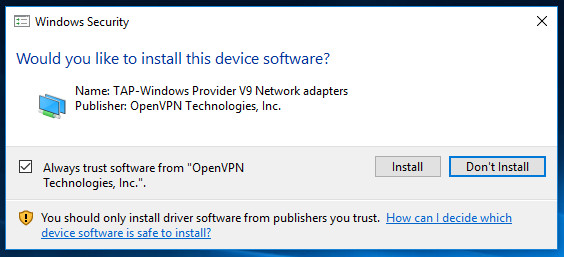
In Windows security dialogue box, click Install to install the TAP-driver, a virtual network device required for OpenVPN to function.
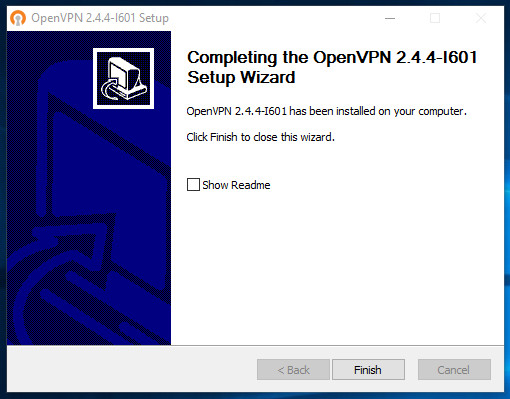
Click Finish. OpenVPN GUI client installation is done.
Step 3 - Import PrivateVPN OpenVPN client configuration files
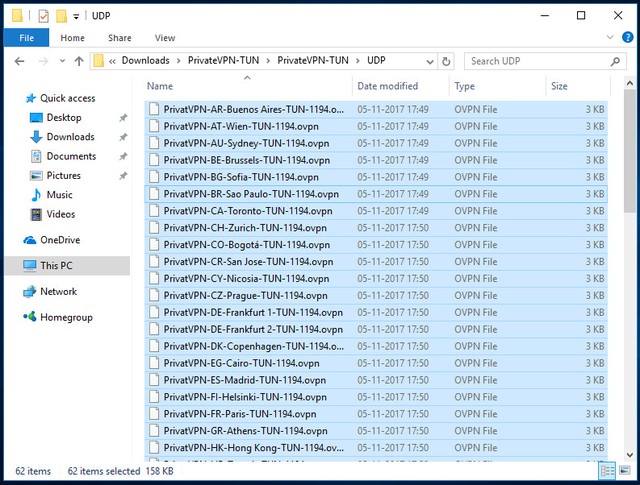
Navigate to Downloads folder and extract PrivateVPN-TUN.zip file that you downloaded in Step 1. Extract it. Open UDP (recommended) or TCP folder inside extracted PrivateVPN-TUN folder.
Select any 50 configuration files that you wish to import in OpenVPN GUI client. Sadly, official client do not support importing more than 50 OpenVPN client configuration files. Copy them.
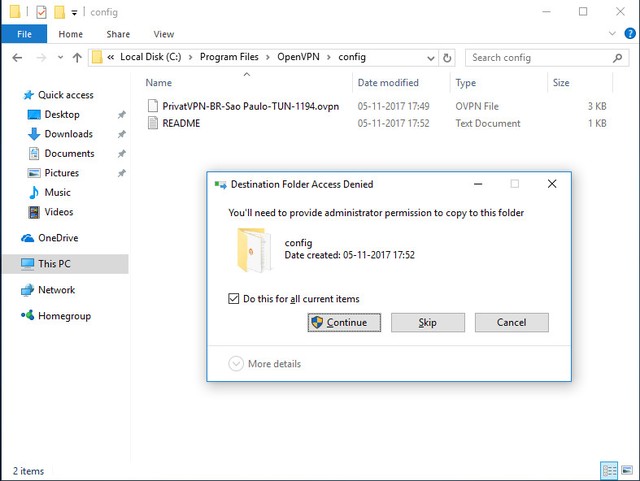
Navigate to Program Files - OpenVPN - config folder of your main Windows installation and paste the copied OpenVPN client configuration files in there. A dialog box appears to seek Administrative permissions, click Continue. Also do not forget to tick Do this for all current items in the same dialog box.
Step 4 - Connecting to PrivateVPN’s OpenVPN servers
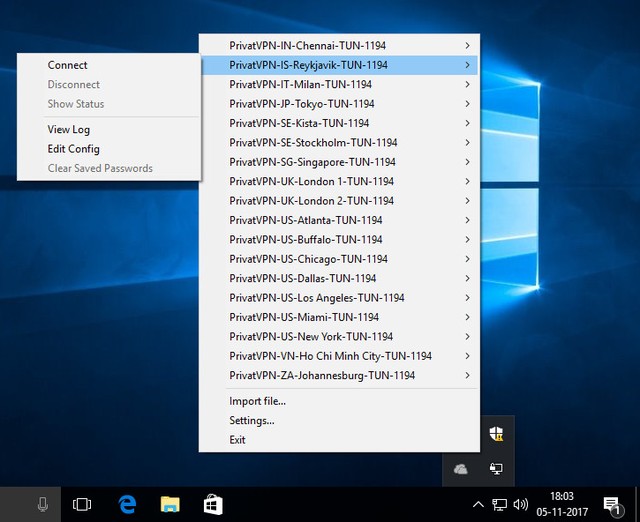
Double click OpenVPN GUI icon on the desktop to open OpenVPN GUI client if not already. Find the OpenVPN GUI icon in right side of task bar as show in the image below and right click to select a location you wish to Connect to.
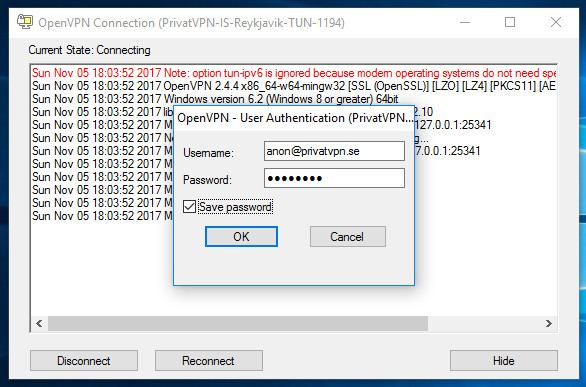
OpenVPN - User Authentication dialogue box appears, input your PrivateVPN.com username and password and click OK to continue. Also you can tick Save password option if you like.
A notification on the bottom right appear stating that you are not connected to PrivateVPN’s OpenVPN server.

Navigate to a PrivateVPN.com in a web browser to check if you are connected. Enjoy your encrypted Internet!